Image Acquisition and Automated Inspection
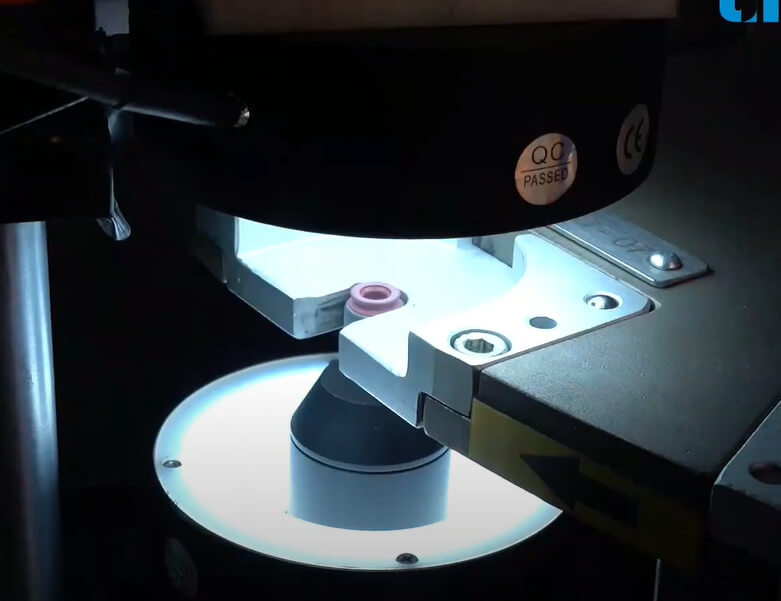
Image Acquisition and Automated Inspection
At Unilogic Technologies, we specialise in automated testing and inspection systems tailored for industries requiring high-precision quality control and efficiency.
Leveraging advanced machine vision technology and custom software solutions, we have implemented a wide range of inspection systems for various components, including automotive, electric vehicles (EV), and industrial products. Our solutions enhance accuracy, streamline processes, and eliminate errors inherent in manual inspections.
Key Image Acquisition and Machine Vision Projects
Stamping Inspection System
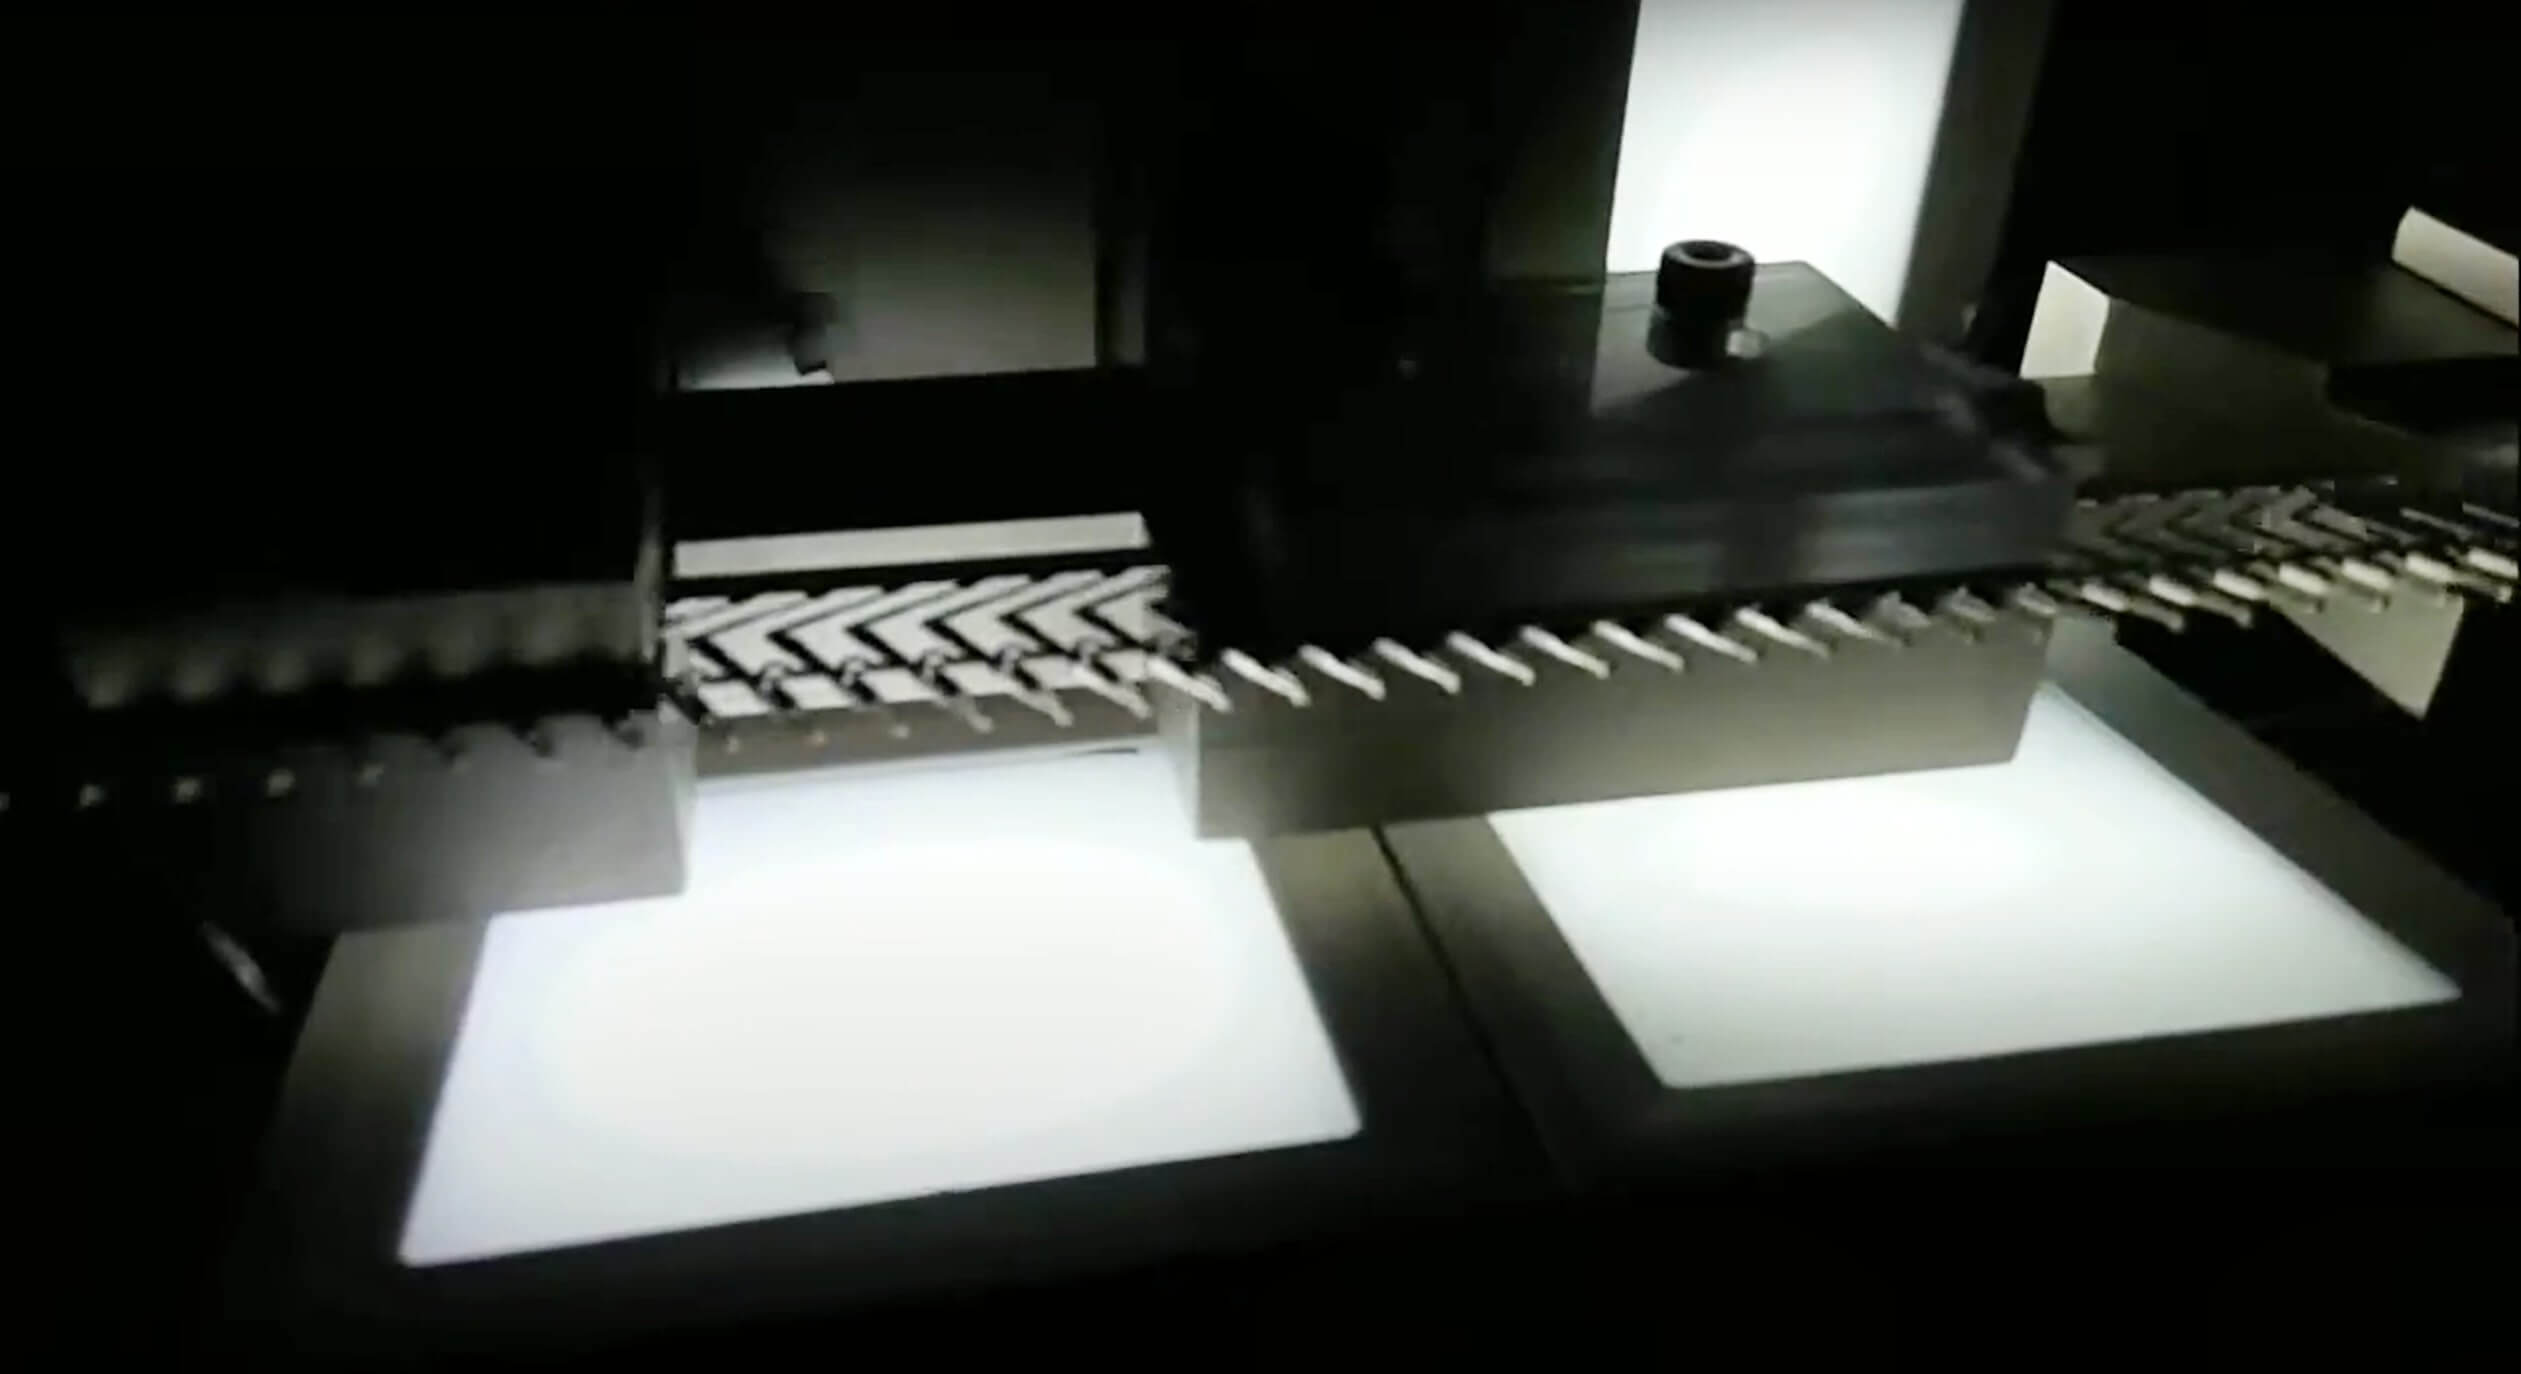
High-speed Stamping Inspection System revolutionises inspection by enabling 100% online inspection for stamped reels. The system uses multiple cameras positioned for front, top, and side views, achieving accuracy up to 5 µm and an inspection speed of 30 contacts per second. When a defective contact is detected, the machine stops automatically, allowing operators to cut and reload the reel efficiently.

Key Features
Connector Inspection System
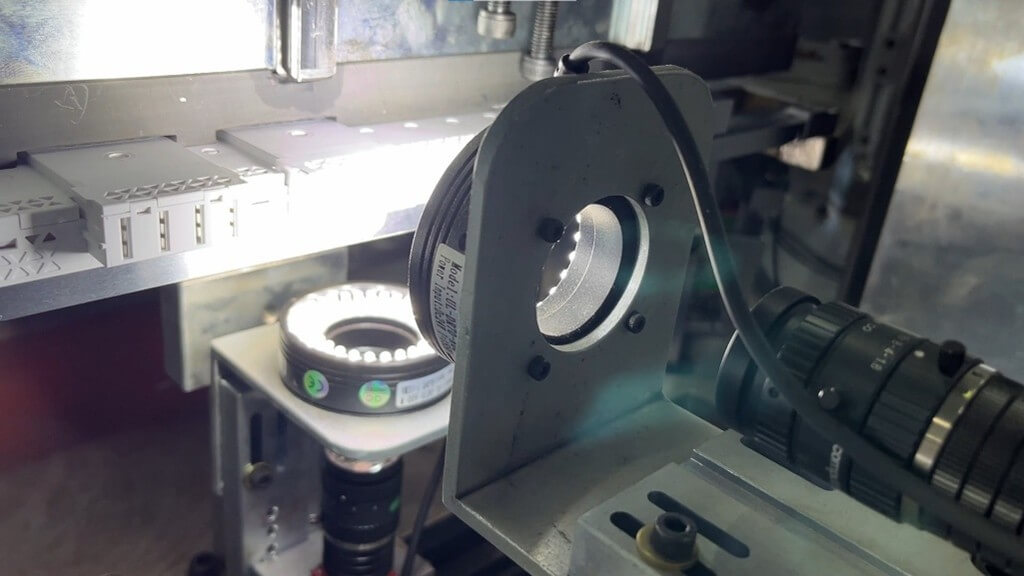
Connector Inspection System
The Connector Inspection System transforms connector quality assurance with its advanced, automated vision-based solution, enabling precise and high-speed inspections with micron-level accuracy.
Designed for efficiency and reliability, the system utilises multiple cameras to inspect various dimensions and identify defects in connectors with 8, 18, or 24 contacts. It achieves accuracy up to 6.6 µm and an inspection speed of 3 to 10 parts per minute, depending on the connector type.
Key Features
Toothbrush Inspection System
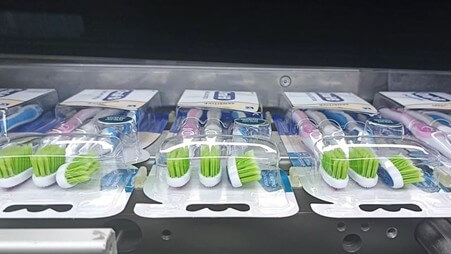
Toothbrush Inspection System
The Toothbrush Inspection System automates quality control, eliminating errors inherent in manual inspection and packing processes. Operating at an impressive speed of up to 45 parts per minute, this system ensures rapid, accurate, and efficient inspection of toothbrush packs across diverse models.
Key Features
Unilogic Inspection Solutions: Fasteners, O-Rings, and Seals

Unilogic specialises in automated inspection systems designed to streamline and enhance quality control processes across various industries. Our advanced solutions cover a broad range of inspection needs, including fasteners, O-rings, and seal components.
Each system integrates state-of-the-art imaging technology and customised machine vision software, allowing manufacturers to detect defects and ensure consistent quality in their products. Below, we explore our key solutions and capabilities.
Fastener Inspection System
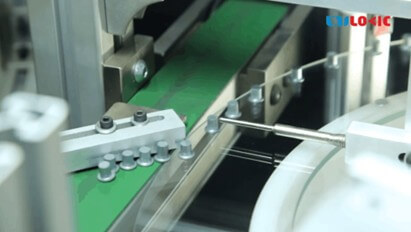
The Fastener Inspection System (FIS) is an automated solution for high-precision inspection of fasteners, requiring only one operator to manage loading and collection of segregated parts.
This system efficiently measures dimensions like head diameter, shank length, thread length, and detects defects such as cracks, peripheral notches, and punching errors. Additionally, it identifies fastener colours and symbols with high accuracy.

Key Features
O-Ring Inspection System
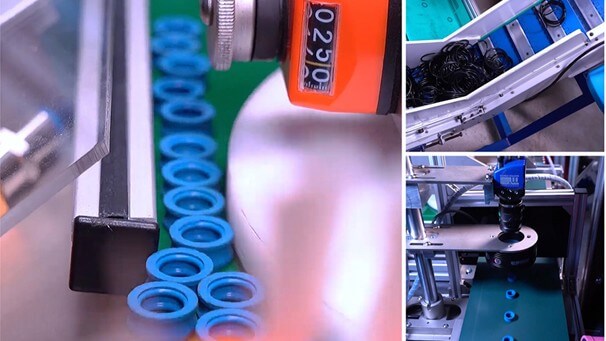
O-Ring Inspection System
The O-Ring Inspection System automates seal inspection with precision, achieving inspection speeds of up to 300 parts per minute. Designed to eliminate manual errors, it ensures high accuracy in defect identification while requiring minimal operator involvement.
Key Features
Bearing Seal Inspection System
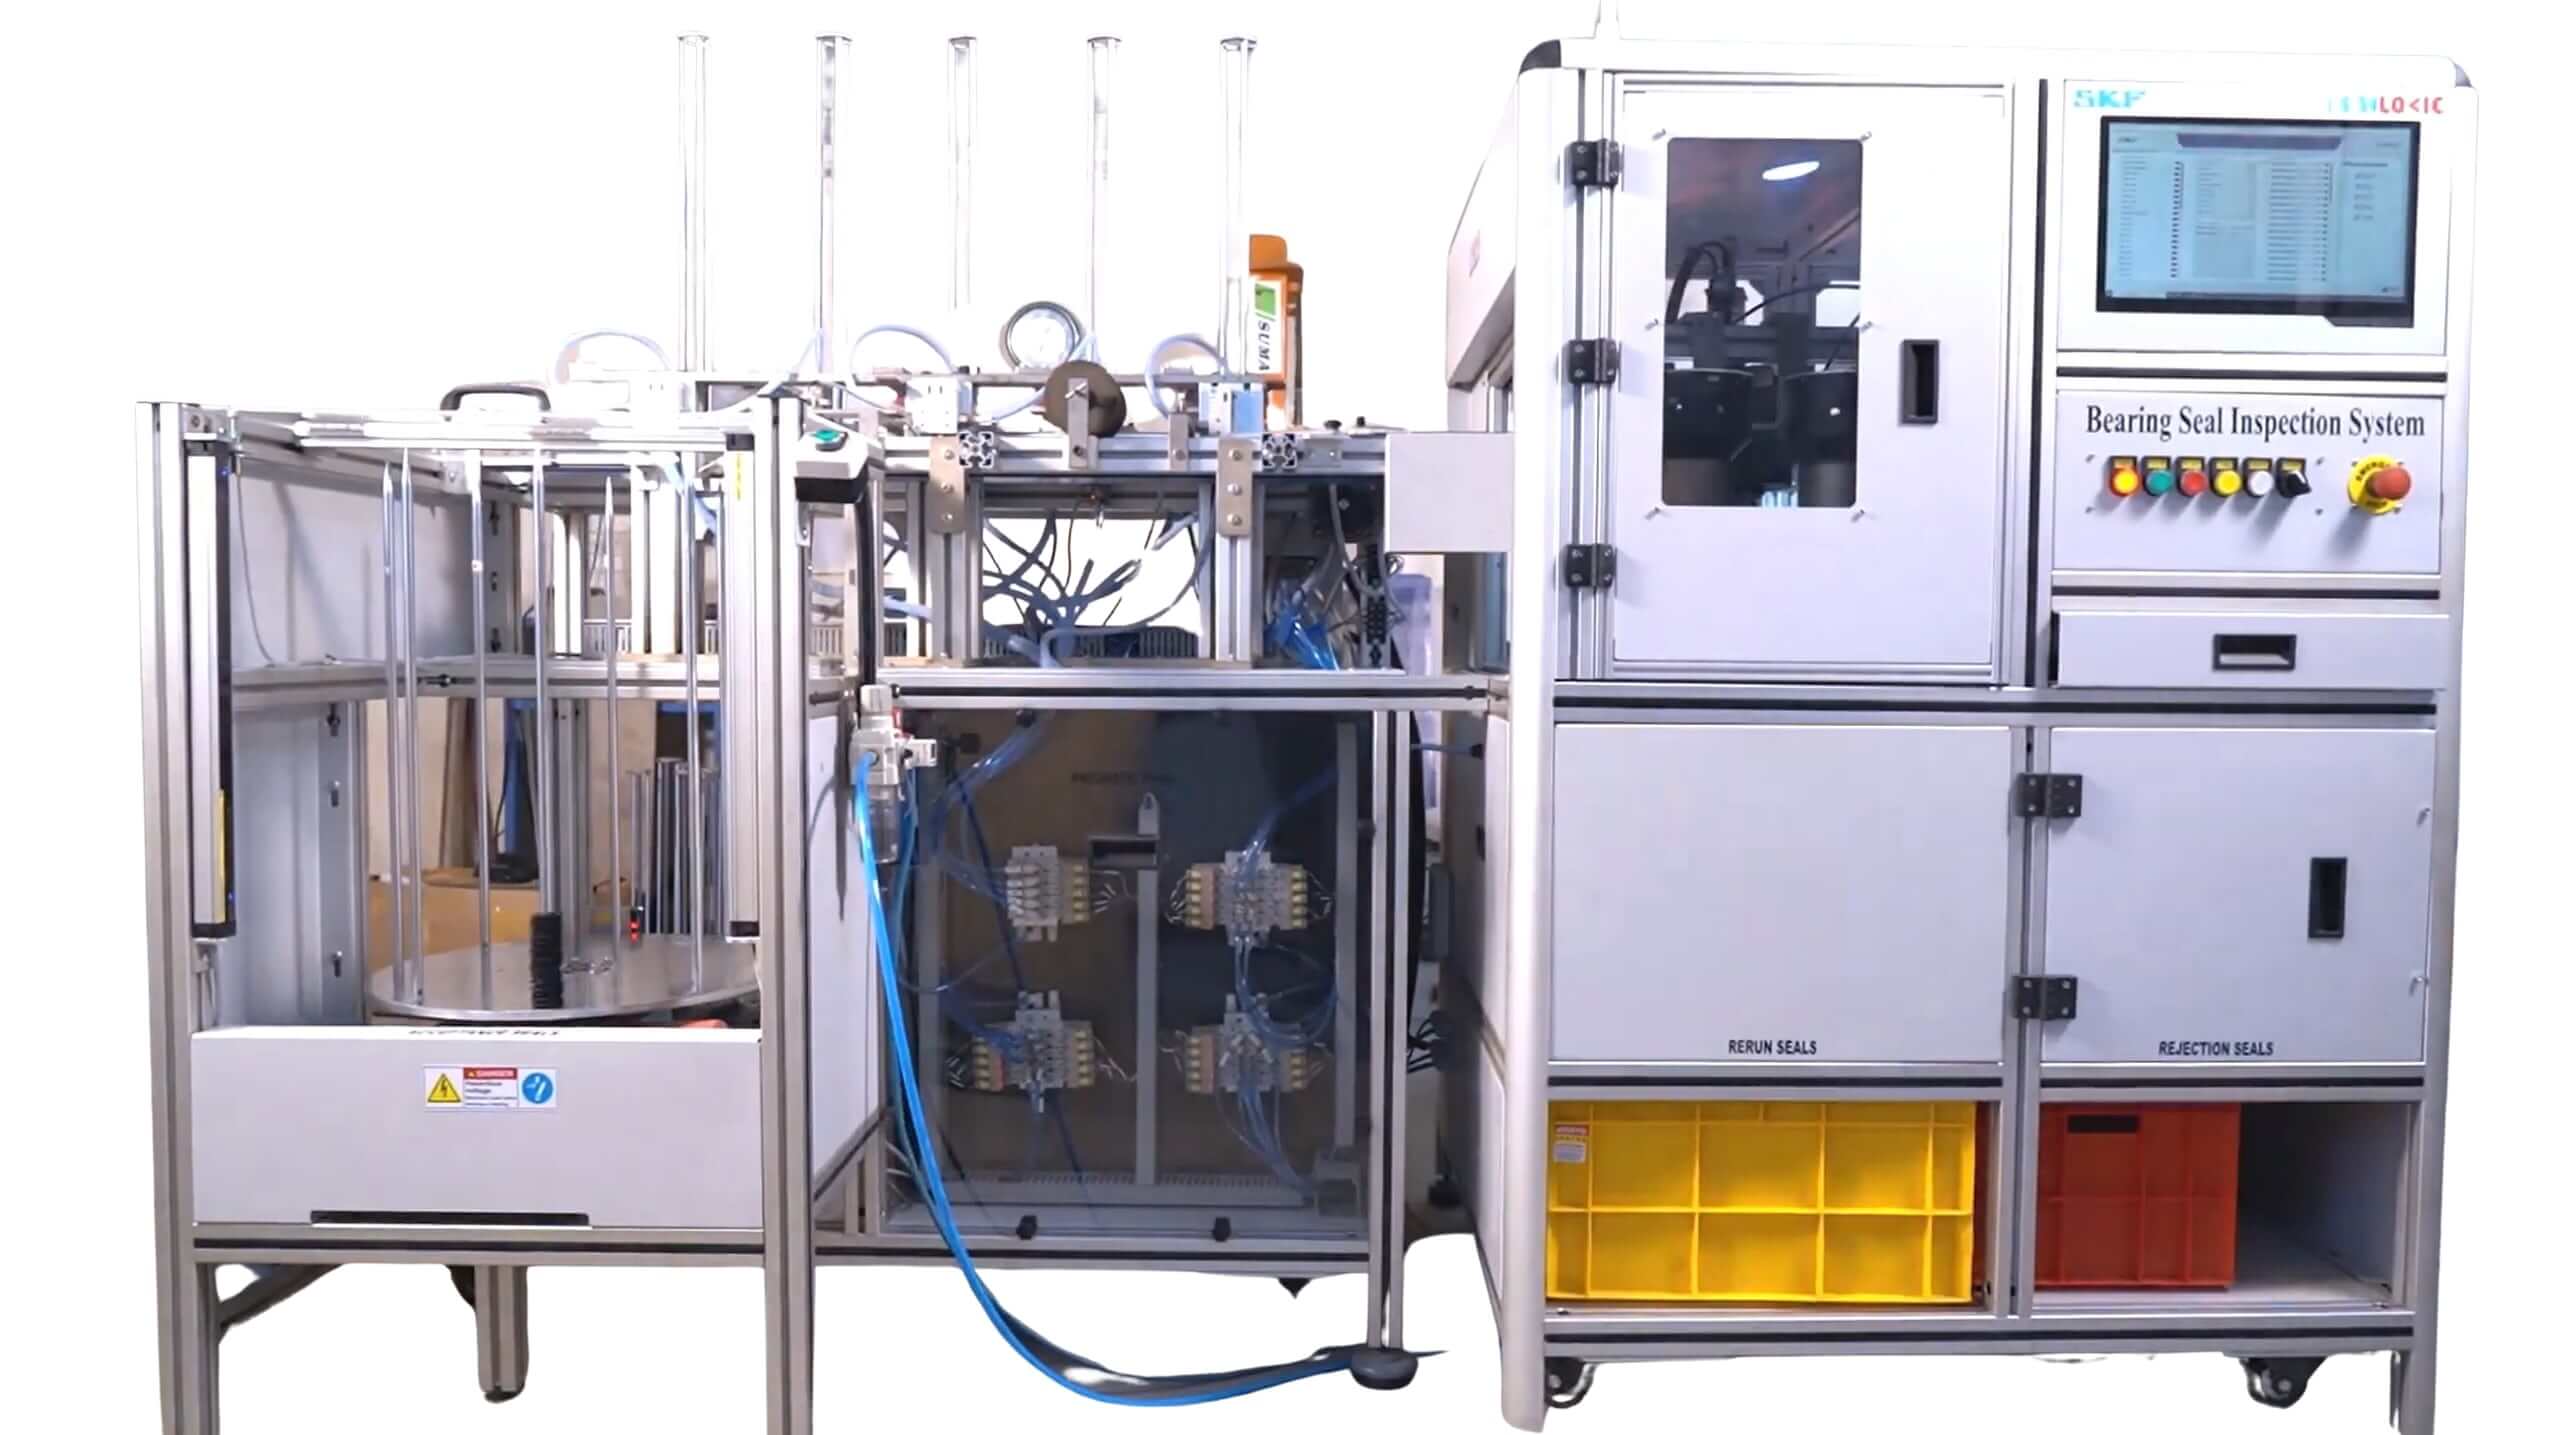
Bearing Seal Inspection System
The Bearing Seal Inspection System (BSIS) automates the inspection process, reducing the labor requirement from eight operators to a single person. Capable of inspecting 180 seals per minute, the system ensures precise and efficient quality control, eliminating manual inspection errors.
Key Features
Valve Stem Seal Inspection System
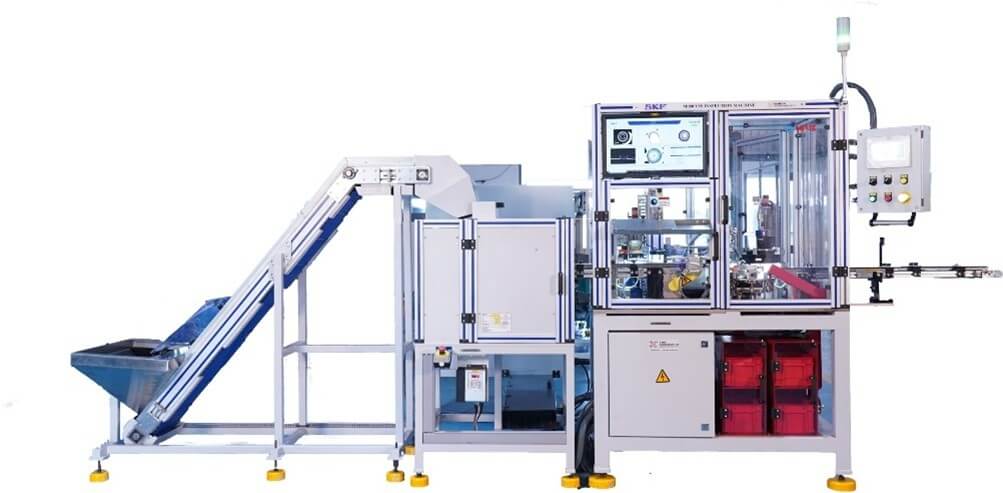
Valve Stem Seal Inspection System
The Valve Stem Seal Inspection System provides an advanced, automated solution for high-speed and precise inspection, overcoming the limitations of manual processes. It is capable of inspecting 70 to 80 valve stem seals per minute, depending on their type and dimensions. The system uses two indexing tables (one with 16 stations and the other with 8) to streamline the inspection process while minimising the machine’s space requirements.
Each station performs specific tasks, such as inspecting the top, outer, and inner surfaces or transferring parts to their respective locations based on quality. Defective parts are ejected into designated bins according to the type of defect, while acceptable parts are sorted onto a good parts conveyor.
Key Features
Potential Expansion: Advanced Inspection Projects for Seals and Fasteners
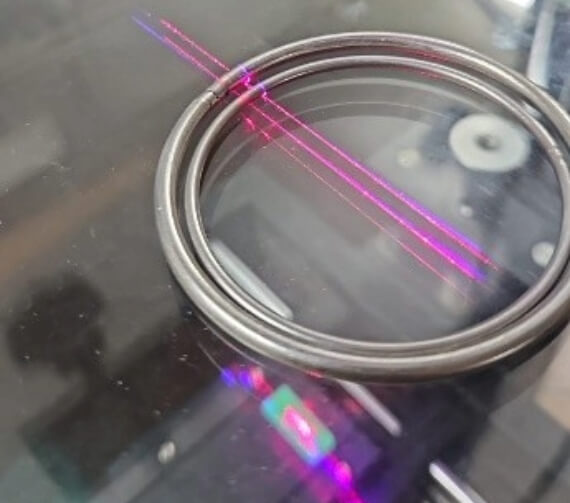
As industry requirements continue to evolve, Unilogic is well-equipped to develop advanced inspection projects that address unique challenges. Potential future projects include:
