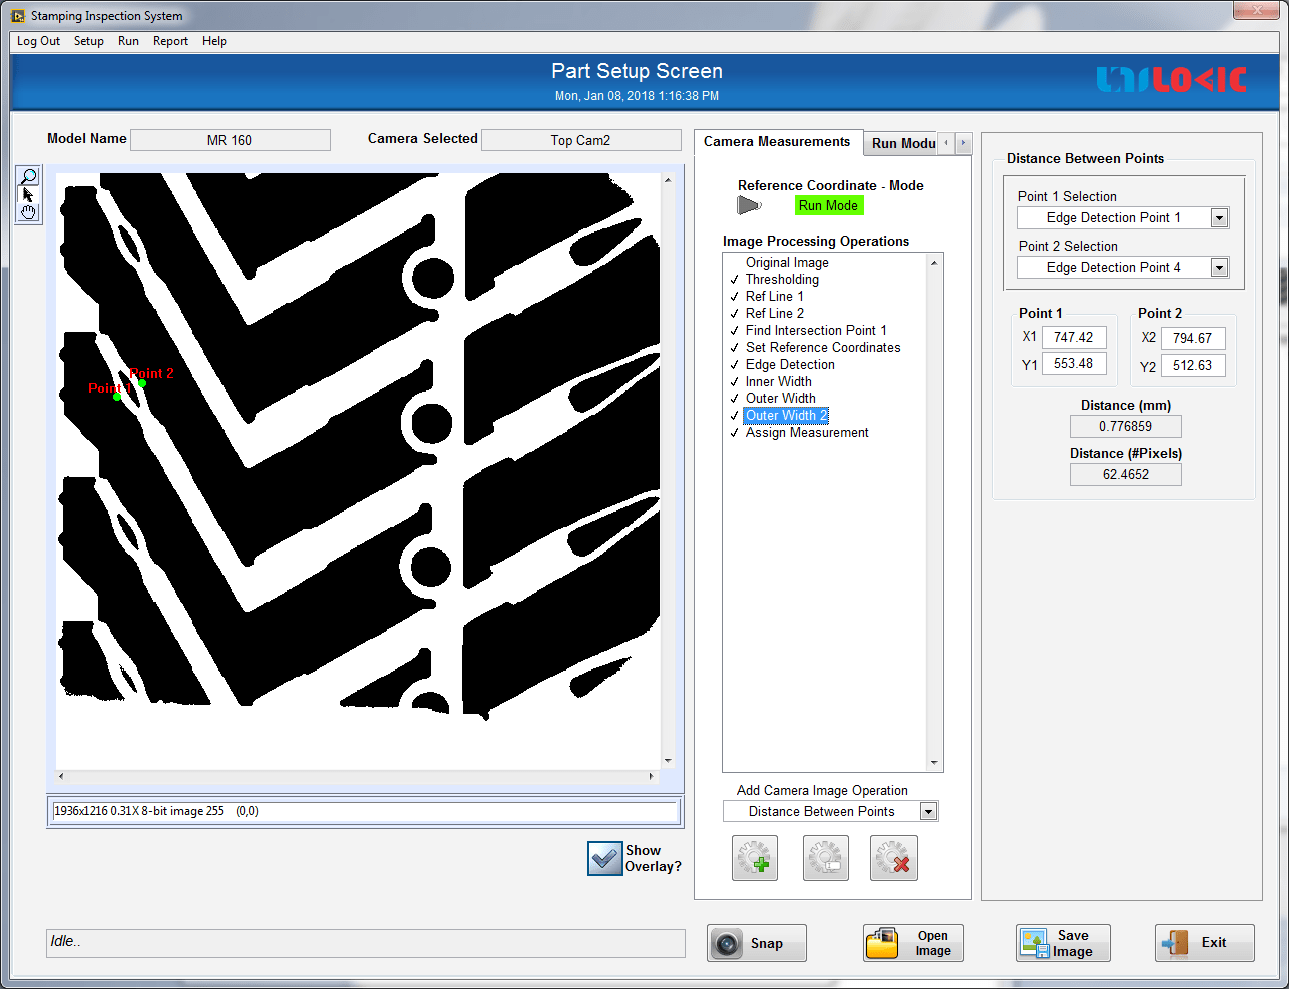
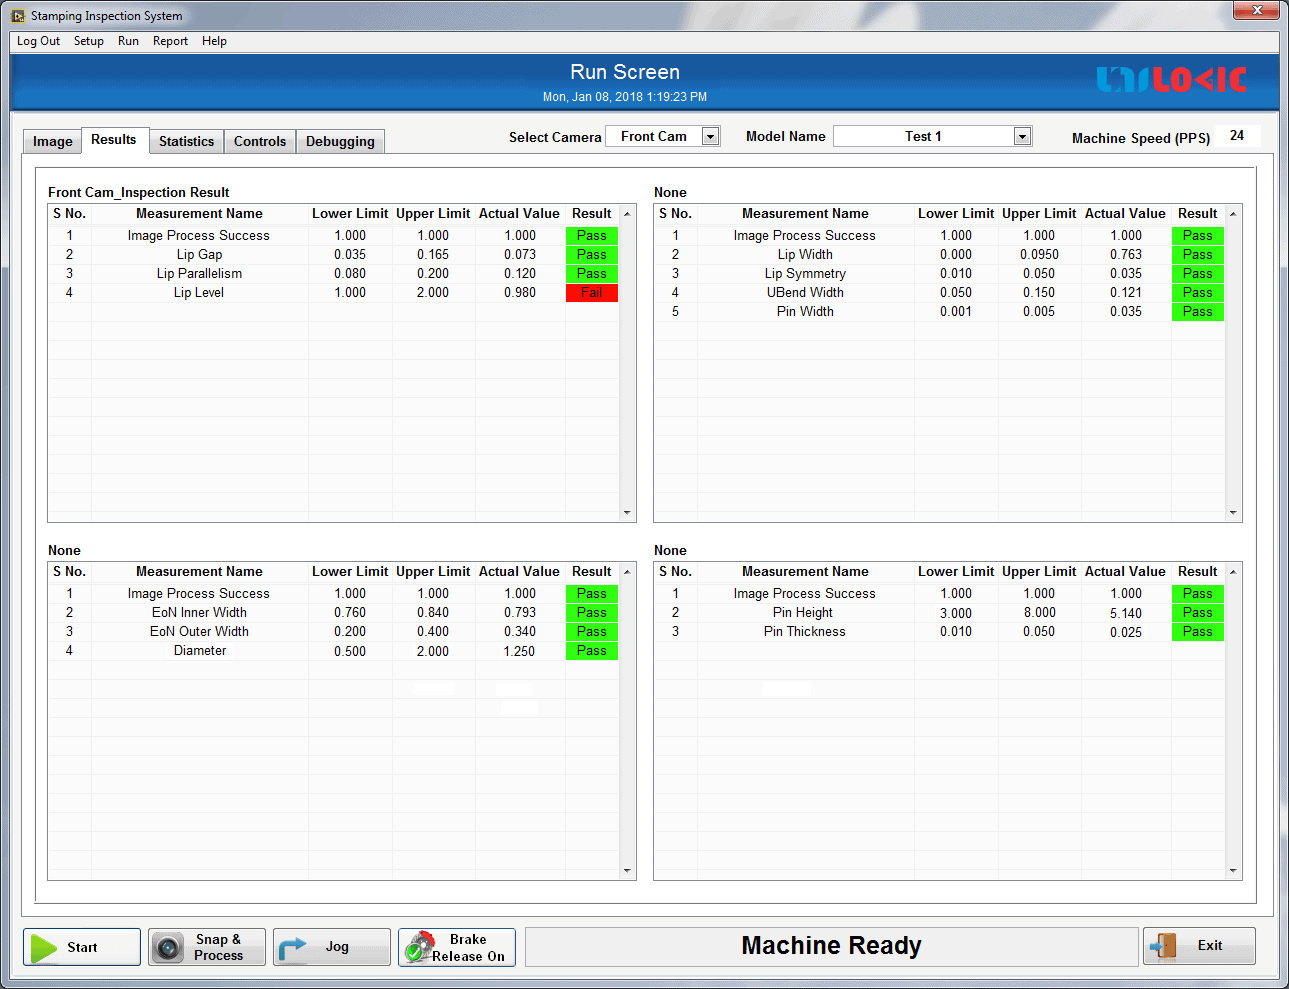
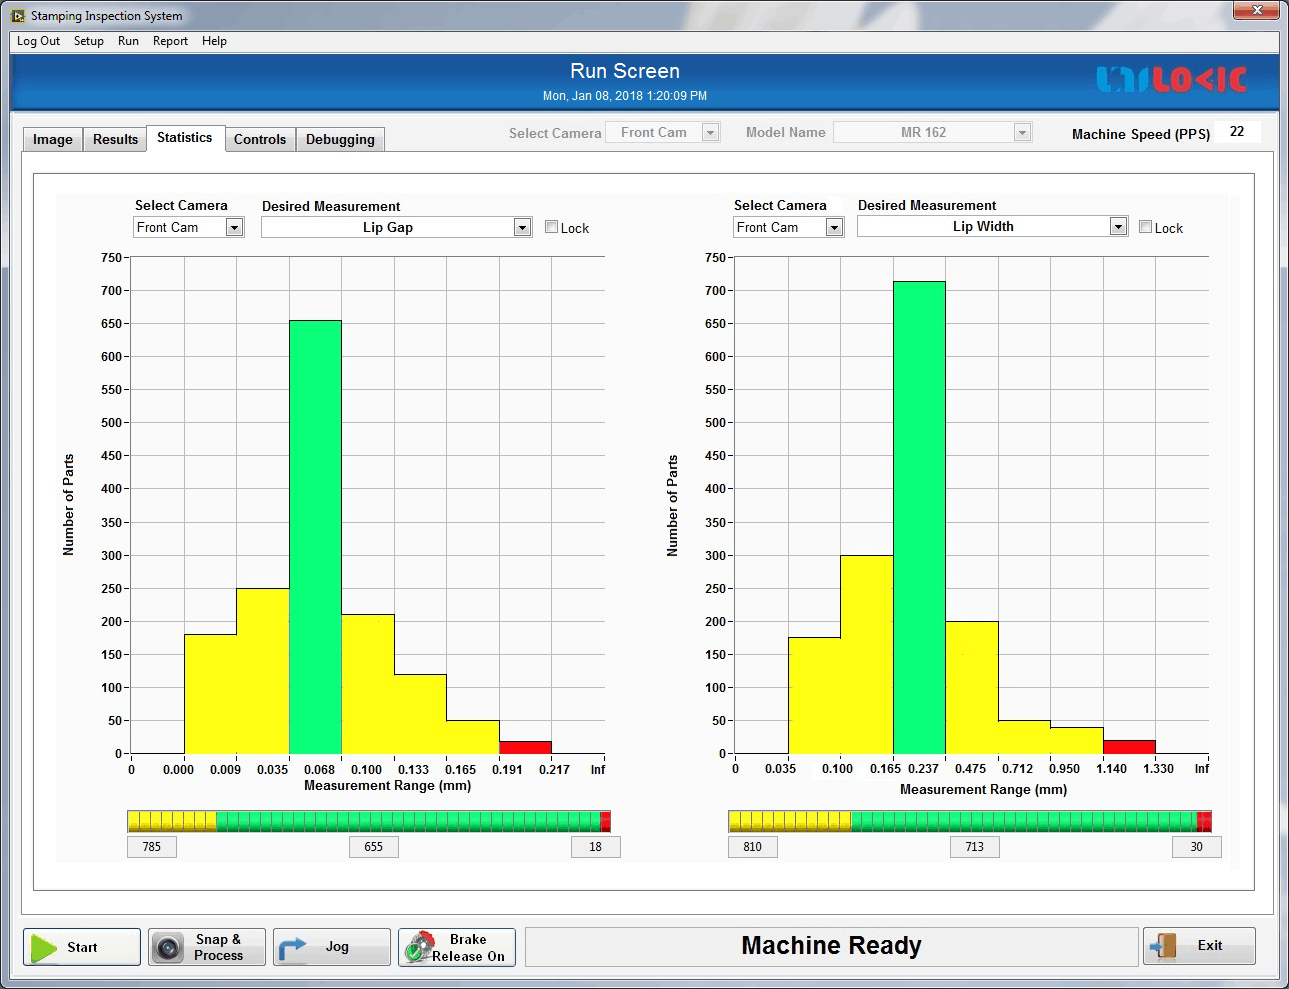
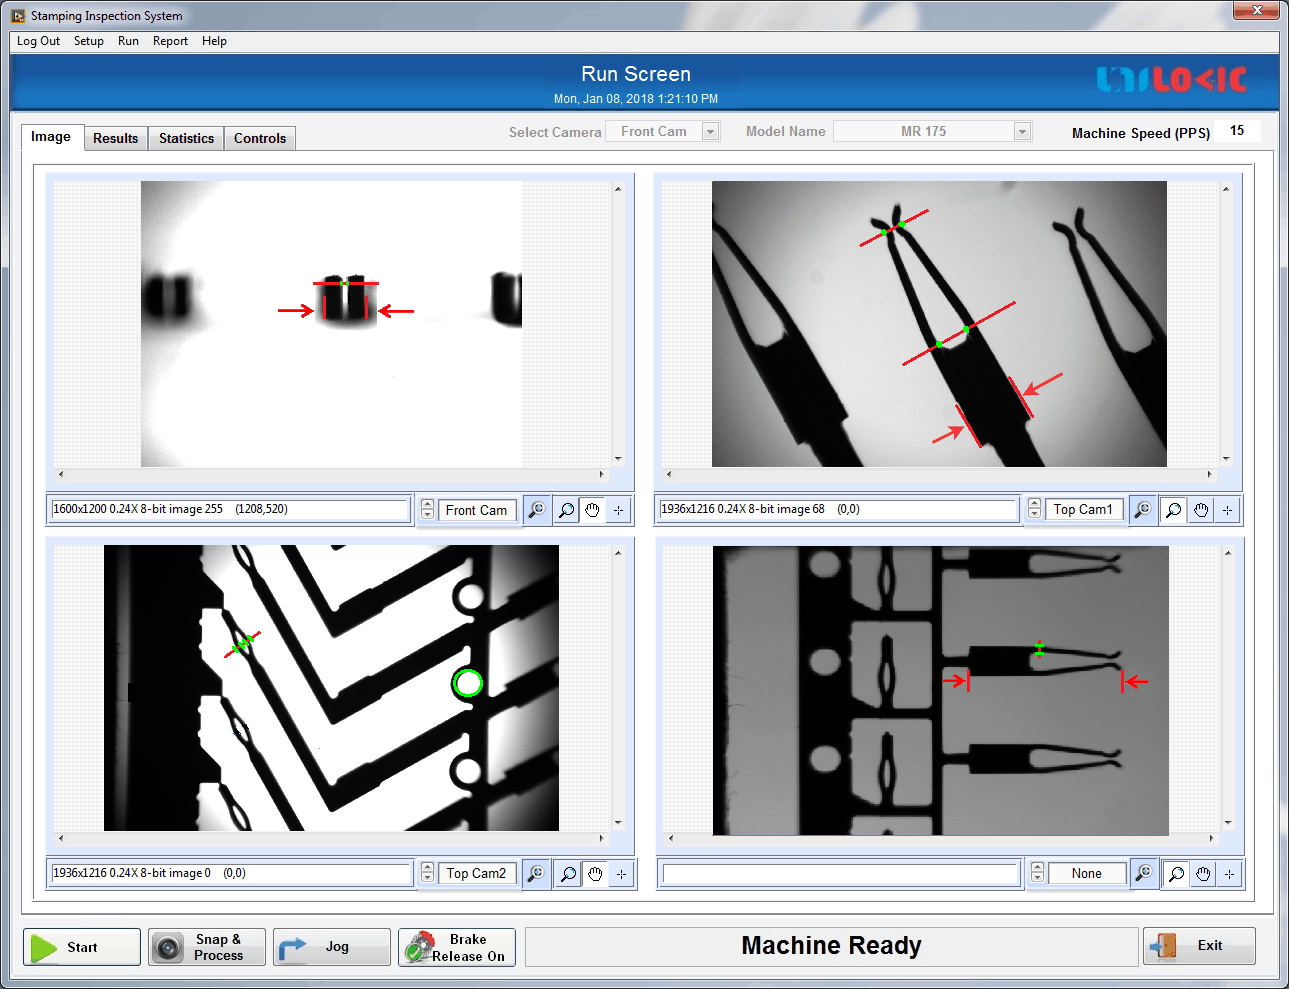
The reel coming out of the stamping machine will approximately have 12,000 contacts. Due to the continuous form of a reel and huge volume only 10 contacts samples were cut and manually inspected. Using our high-speed vision-based stamping inspection system, a reel will be directly fed and 100% online inspection will be done.

This machine has multiple cameras positioned in different views (Front, top etc.,.) to cover various dimensions and to identify possible contact damages. Maximum speed of the machine is 30 contacts per seconds and accuracy levels up to 5 µm. When the defective contact is identified, machine will automatically stop at that defective contact, so that the operator can cut and reload.

S.NoSpecification ParameterTypical Value/RangeComments
1Machine Inspection Speed (Parts/Second)30based on part shape and size
2Lip Gap (in mm)0.05 - 0.15Side View Camera
3Lip Parallelism (in mm)0 - 0.030Side View Camera
4Lip Straight (in mm)0 - 0.1Side View Camera
5Box Width (in mm)0.5 - 1.5Top View Camera 1
6Symmetry of Lips (in mm)0 - 0.05Top View Camera 1
7Outer Width (in mm)0.5 - 1Top View Camera 2
8Inner Width (in mm)0 - 0.4Top View Camera 2
9Side View Dimensions Ð Accuracy (in microns)±5Based on 1.9 MP Area Scan Camera & 8 mm FOV (1 pix ~5 um)
10Side View Dimensions Ð Resolution (in microns)5Based on 1.9 MP Area Scan Camera & 8 mm FOV
11Side View Dimensions Ð Repeatability (in microns)±5Based on 1.9 MP Area Scan Camera & 8 mm FOV
12Top View Dimensions Ð Accuracy (in microns)±5.6Based on 2.2 MP Area Scan Camera & 11 mm FOV (1 pix ~5.6 um)
13Top View Dimensions Ð Resolution (in microns)5.6Based on 2.2 MP Area Scan Camera & 11 mm
14Top View Dimensions - Repeatability (in microns)±5.6Based on 2.2 MP Area Scan Camera & 11 mm
15Top View Dimensions Ð Accuracy (in microns)±5.6Based on 2.2 MP Area Scan Camera & 11 mm FOV (1 pix ~5.6 um)
16Top View Dimensions Ð Resolution (in microns)5.6Based on 2.2 MP Area Scan Camera & 11 mm
17Top View Dimensions - Repeatability (in microns)±5.6Based on 2.2 MP Area Scan Camera & 11 mm
18No. of Area Scan Cameras3
19Machine Length * Width * Height in mm600 * 750 * 1750600 * 750 * 1750 (Including Tower Lamp)

Benefits

  • 100% online inspection
  • Live SQC data for quality analysis
  • Immediate feedback to the operator to correct the stamping machine issues
  • Reduces the overall cost as the defects are identified before the Assembly.

Features

  • Multiple cameras to cover various dimensions and defects
  • One machine to accommodate 11 different connectors

For Sales enquiry please contact: info@unilogic.in | +91 422 421 8621 | +91 90258 72425