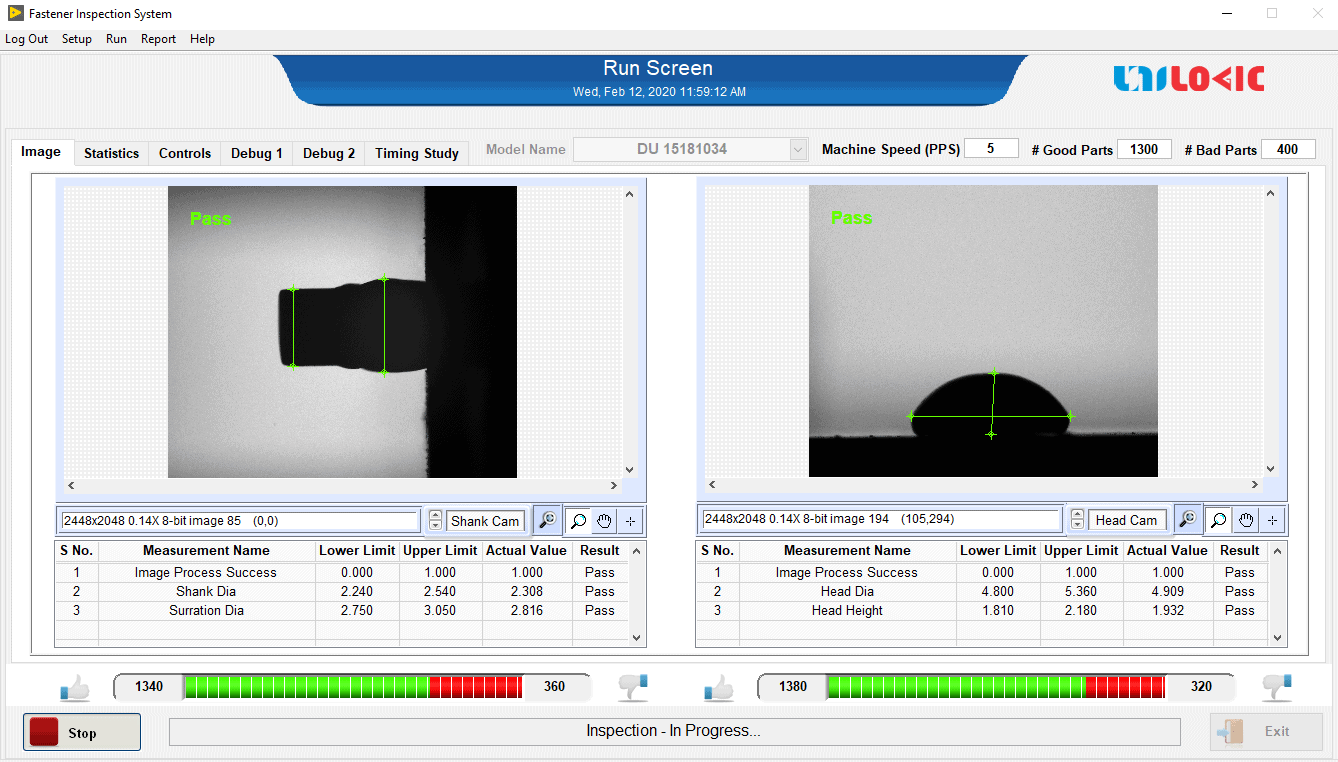
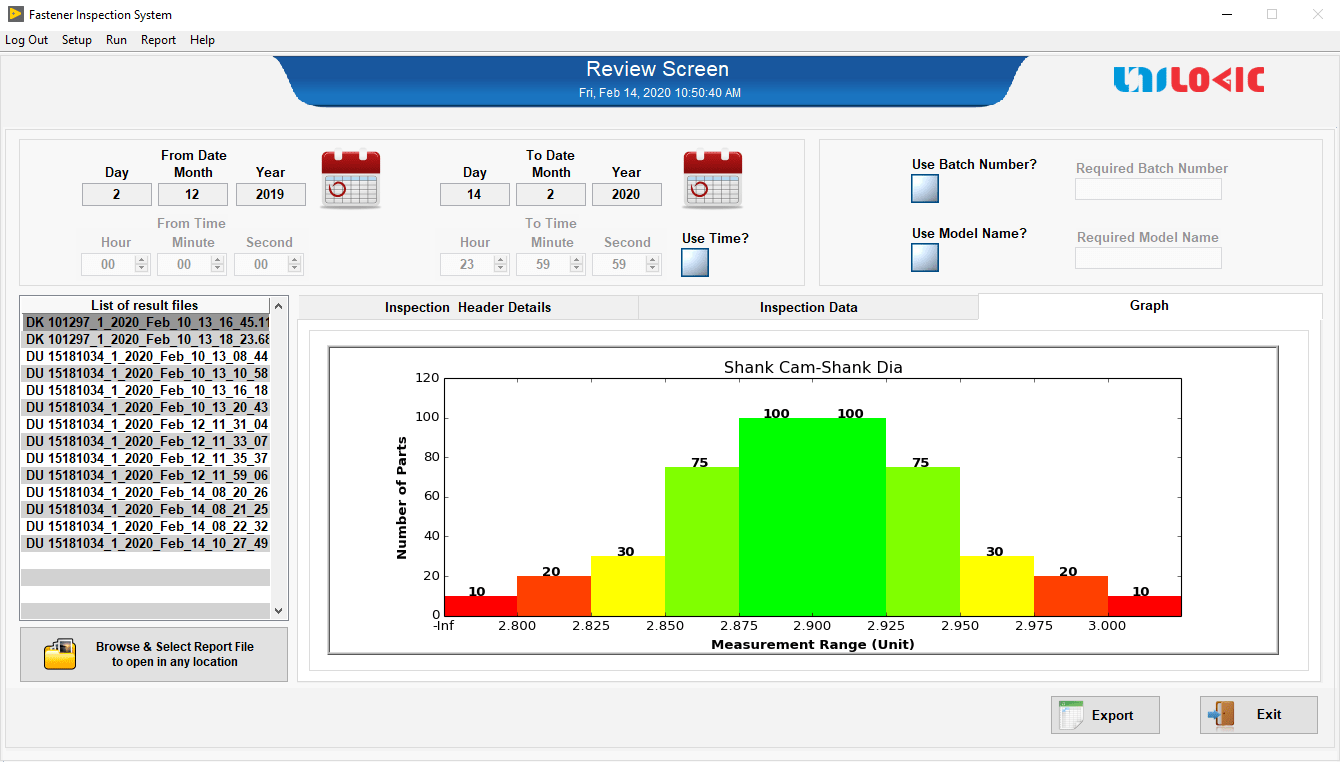
Our Fastener Inspection System (FIS) automates the inspection process with only one operator to load and collect segregated parts. FIS can measure dimensions like head diameter, shank diameter, shank length, thread length, etc., and defects like notches on peripheral, cracks on the surface, and other punching defects. It can detect the rivet colour and identifies the symbol.

The operator loads the fasteners to the vibratory bowl and fed to the system in an aligned manner and lands on the rotating disc. The image is captured from different angles and positions for analysis. The software will collect those images and apply image processing algorithms to differentiate accept (OK) and reject (Not OK) parts. Using Pneumatic ejectors, accepted/rejected parts will be collected in different bins.

S.No Specification ParameterTypical Value/RangeComments
1Machine Inspection Speed (Parts/Second)3 to 4Based on Part Size
2Head Diameter (in mm)Min: 9; Max: 12Top Camera View
3Head ThicknessMin:0.6; Max: 2Side Camera View
4Shank DiameterMin:4.84; Max: 6.95Side Camera View
5Shank LengthMin: 5.3; Max: 12.5Side Camera View
6Top View Dimensions – Accuracy (in microns)±7.5Based on 5 MP Area Scan Camera & 18.5 mm FOV (1 Pix ~7.5 um)
7Top View Dimensions – Resolution (in microns)7.5Based on 5 MP Area Scan Camera & 18.5 mm FOV
8Top View Dimensions - Repeatability (in microns)±7.5Based on 5 MP Area Scan Camera & 18.5 mm FOV
9Side View Dimensions – Accuracy (in microns)±11.5Based on 5 MP Area Scan Camera & 28 mm FOV (1 Pix ~11.5 um)
10Side View Dimensions – Resolution (in microns) 11.5Based on 5 MP Area Scan Camera & 28 mm FOV
11Side View Dimensions – Repeatability (in microns)±11.5Based on 5 MP Area Scan Camera & 28 mm FOV
12No. of Area Scan Cameras2
13Machine Length * Width * Height (in mm)2000 * 900 * 1900With Bowl: 2000 * 900 * 1900
Without Bowl: 1000 * 800 * 1650

Benefits

  • More number of setups can be configured for different types of Fasteners
  • A single person can do the inspection
  • Less power consumption for electric and pneumatic components
  • Manager level login can access all inspection batch reports
  • Automatic report generation and database logging

Features

  • Inspection Speed – 100 to 900 parts per minute based on fastener sizes
  • User can operate the Machine without PC access
  • Alarm indication for less number of Rivets in the bowl
  • Authentication Feature for different level users
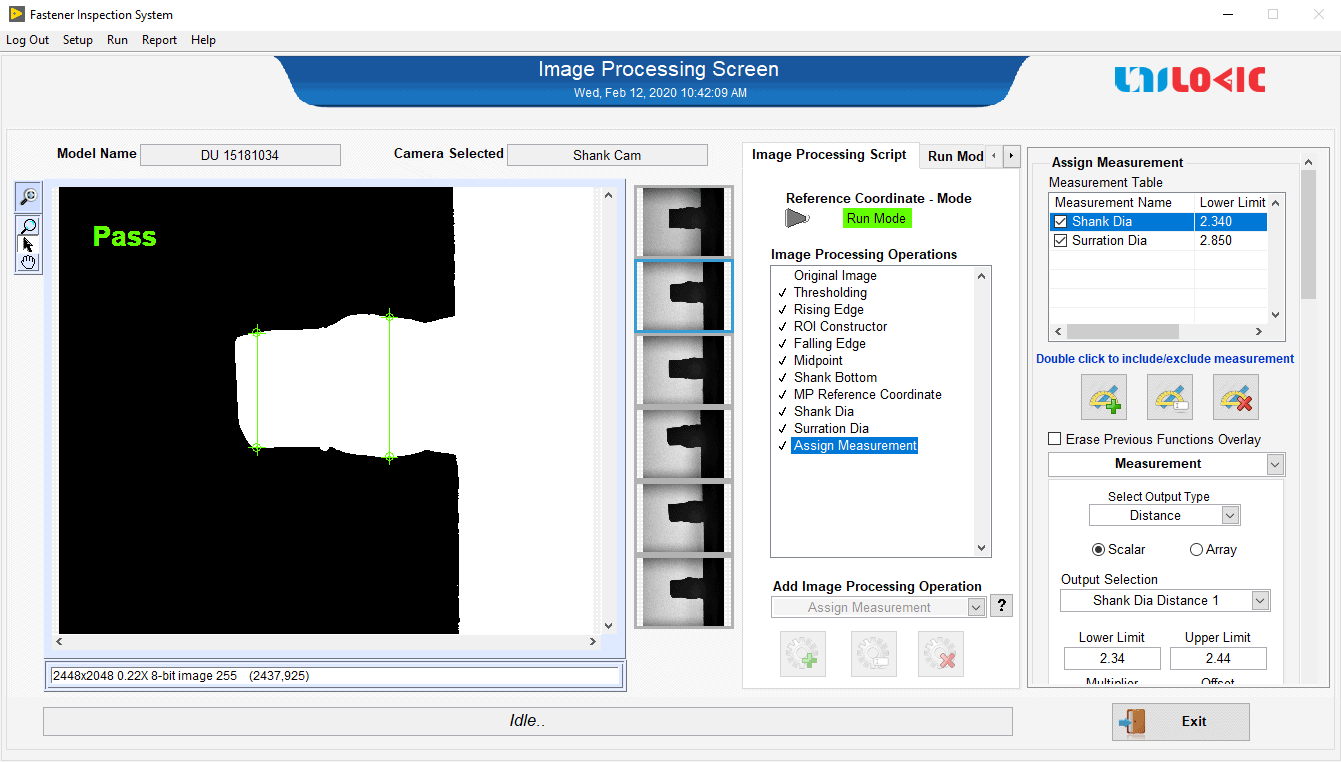
  • Configurable Image Processing functions
  • Provision to edit Measurement limits
  • Report generation in different formats (Excel, Pdf) with SPC reports and Bar charts

For Sales enquiry please contact: info@unilogic.in | +91 422 421 8621 | +91 90258 72425